Distribution Groups in Exchange 2010 are managed from the OWA or what it’s now know as Outlook Web App. Owners of a distribution list can manage there own distribution list if you have correctly set the feature RBAC (Role Based Access Control)in Exchange 2010. As you can guess Microsoft Exchange Server 2010 now comes with the new RBAC (Role Based Access Control) permissions model. This new permissions model allows you to define both a broad, as well as a more granular assignment of permissions.
While you can perform granular assignments in Exchange 2010, there are also Predefined Role Groups that you can use if you want an easier way of assigning permissions to end users. Below I will walk you through a very quick and easy way to provide end users the ability to modify distribution groups.
First we will need to create a new custom role based on the default ‘MyDistributionGroups’ Role. To do this we will use the Exchange Management Shell in Exchange 2010 aka Powershell with Exchange Modules.
Open up the Exchange Shell and copy and paste the following:
New-ManagementRole -Name MyUsersDistributionGroups -Parent MyDistributionGroups –Description “This role enables individual users to view distribution groups and add or remove members to distribution groups they own.”
The above cmd made a new role based on MyDistributionGroups, we need to make change to this new role because we don’t want all the same settings as MyDistributionGroups.
Next we need to modify the new role.
Remove-ManagementRoleEntry MyUsersDistributionGroups\Set-Group -Confirm:$false

Remove-ManagementRoleEntry MyUsersDistributionGroups\Remove-DistributionGroup -Confirm:$false

Remove-ManagementRoleEntry MyUsersDistributionGroups\New-DistributionGroup -Confirm:$false
Then we set the DistributionGroup parameters:
set-ManagementRoleEntry MyUsersDistributionGroups\Set-DistributionGroup -parameter Confirm ,ErrorAction ,ErrorVariable ,Identity ,MailTip ,MailTipTranslations , OutBuffer ,OutVariable ,WarningAction ,WarningVariable ,WhatIf
Then finally we need to apply this role to our users. For all people to get these setting you must add the new role to the existing “Default Role Assignment Policy” which is applied to every one.
New-ManagementRoleAssignment -Role MyUsersDistributionGroups -Policy “Default Role Assignment Policy”
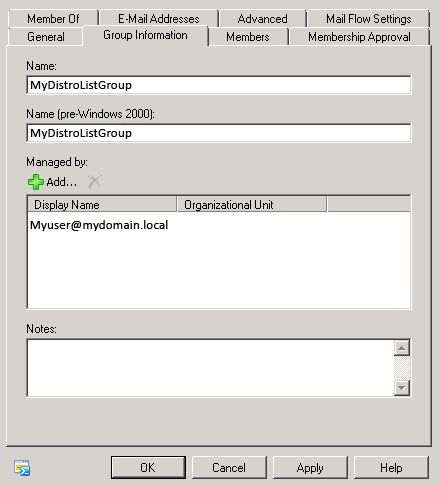
Once that’s done you must add the user who will manage group to the distribution list so the user can modify the members of the Distribution Group. This is done inside the Exchange Management Console under recipients / Distribution Groups. Find the Group you want to allow the user to manage and place them in the “Managed By” box under the Group Information Tab.

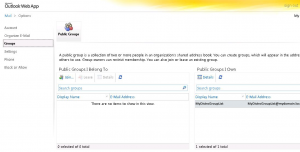
That’s It!!! Now we let the user login to the Outlook Web App and make modifications to the distribution groups the now own. To make edits they should login and select the options menu then select all options. It will display a menu that will provide access to Groups. Select groups and you should see 2 lists, The 1st list is all groups your a member of and the 2nd list is all groups you own or manage. Double click the group name to manage that group and its memberships.
I hope this helps someone else get group management working after a upgrade from Exchange 2007, and in less time than it took me.
This guide was borrowed from squidworks.


